
How to Create a WordPress Blog Step by Step Guide
Do you want to create a blog or website? If yes then you are at the right place. Here I will show you how to create a blog on WordPress step by step with screenshots.
Even if you don’t have technical knowledge, you can create a WordPress blog easily using our complete step-by-step guide on “How to Create a Blog” with screenshots.
To start a blog, you need a blogging platform. There are many blogging platforms to choose from: WordPress, Blogger, Weebly, Wix, and many more.
Choose A Blogging Platform
You can create a blog on any platform but WordPress is a highly recommended blogging platform to make money. It is one of the best blogging platforms to make money.
WordPress is the best blogging platform due to its too many powerful features which help you to manage your website easily.
There are many benefits of using WordPress like:
- You can customize your website and give it an awesome look by using premium WordPress themes.
- Increase your website rank using best WordPress SEO plugins.
- No technical knowledge is required.
- Google loves WordPress websites.
- Easy to use and update a website.
Read Also: How to install WordPress On Wamp Server Step By Step Guide
Now follow our step-by-step guide to starting a blog in WordPress.
How to Create a WordPress Blog?
There are four steps you have to follow to start a blog in WordPress.
Step 1: Choose Web hosting and Sign up (I highly recommend Bluehost)
Bluehost is officially recommended by WordPress and offers the best WordPress hosting service. If you are looking for a non-EIG company to host your website then A2 Hosting is the best alternative to Bluehost.
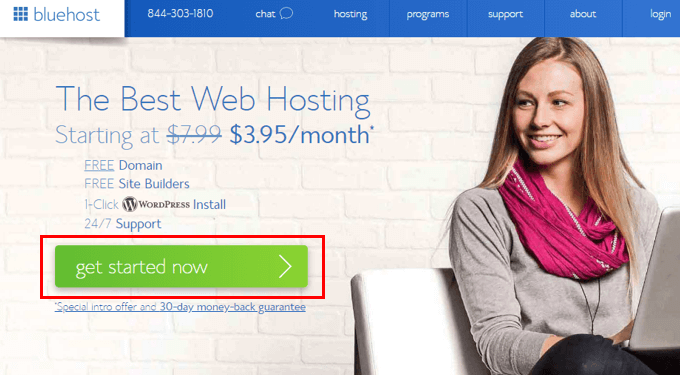
Now First Click here to go to the Bluehost Sign-up page. Then click on the green-colored “get started now” button.
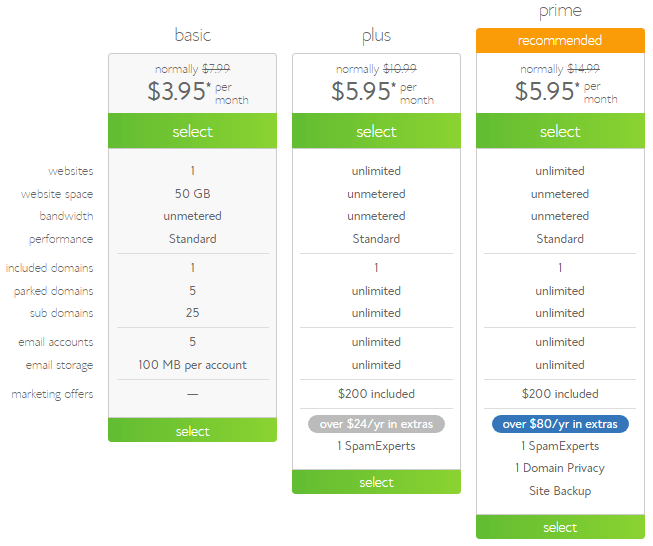
Step 2: Select the hosting plan (basic plan is best for beginners)
There are three types of shared hosting plans: Basic, Plus, and Prime. Choose any one shared hosting plan. For beginners, a Basic plan is the best to create a blog in WordPress.
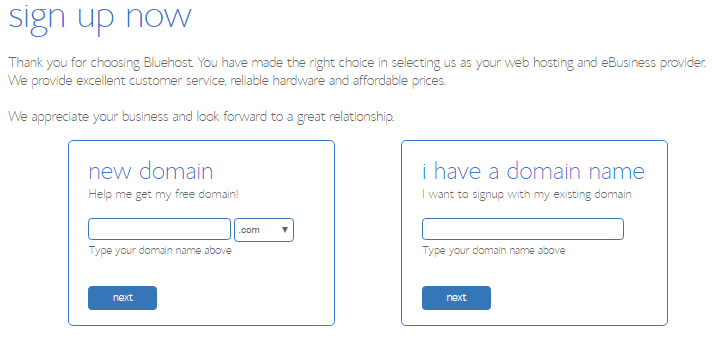
Step 3: Select domain name for your blog (It’s Free!)
To create a blog, you need a name for your blog. Select one unique domain name with popular domain extensions like .com, .net, .org etc. Bluehost provides a free domain for all shared hosting plans.
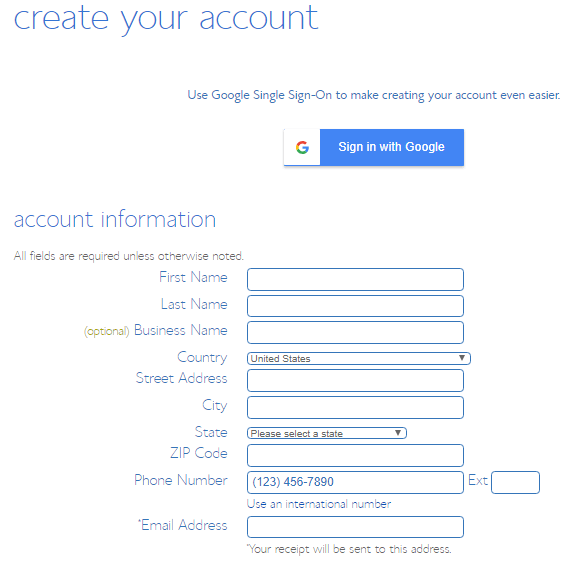
Step 4: Complete Sign up Process
Now it’s time to complete the signup process. You can directly sign in with your Google account. If you don’t want to sign in with google then fill in all the required account information to create an account.
After filling in all account information, select account plan: Basic 36 Months.
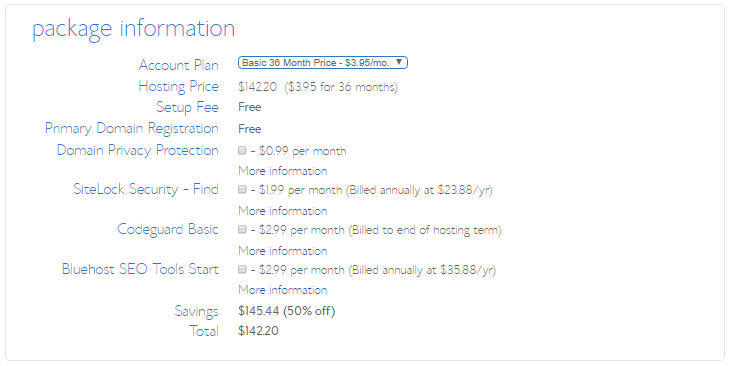
There are also other add-ons options available like domain privacy protection, SiteLock security, Codeguard. You can enable these options according to your requirement and interest.
Now you can make payment for your selected hosting plan. There are few payment options available like credit cards and PayPal.

After filling in your payment details, click on the submit button.
If you will be asked for any special offer or any upgrades, you can skin them all by clicking on the “no thanks” link.
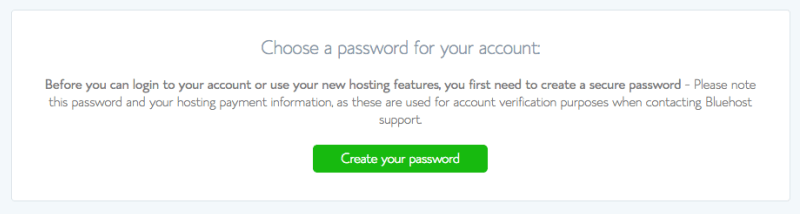
Once you complete the payment process, it will ask you to create a password for your account. Click on “Create your password” and enter a strong password that you can remember easily but not any other person.
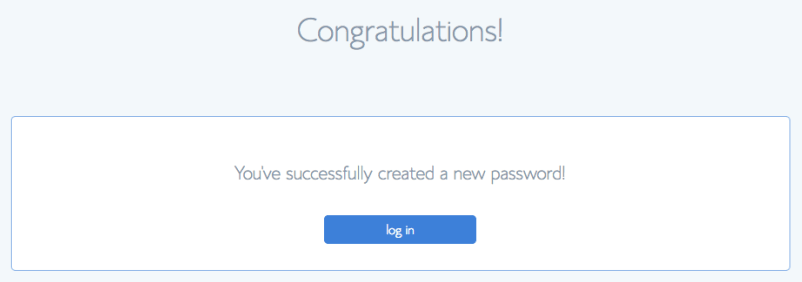
After creating a password, a window will pop up with the login option. Here you can log in to your WordPress website.
When you are successfully logged in, It will ask you to select a theme for your blog.
These themes are free. But they are not SEO-optimized themes and are also not good for blogging. So I recommended you choose different WordPress themes.
You can choose here the best google Adsense optimized WordPress themes to get more revenue if you have planned to make money from google adsense.
If you want to build a WordPress website for your business, you can find here the best business WordPress themes for 2022.
Start Blogging
Once you entered it into the WordPress dashboard, it will look like below.
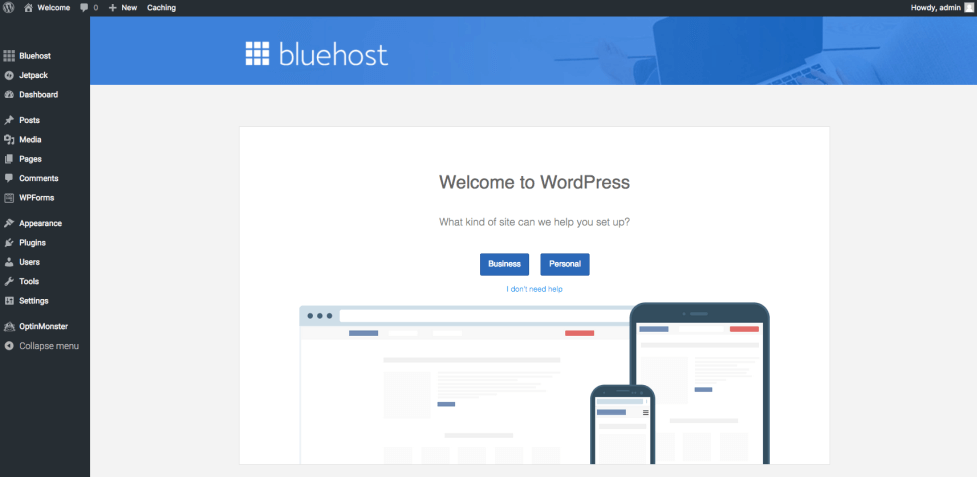
From this WordPress dashboard, you can manage your blog, create a post and publish, install plugins, and many more.
Read Also:
- 8 Best Tricks to Fix Your Blog Mistakes
- Best managed WordPress hosting companies.
After creating a blog in WordPress, learn here how to protect WordPress website from hackers.
If you have any questions about creating a blog in WordPress, then feel free to let us know by commenting. And if you have found this blog post very helpful and learned how to create a blog in WordPress then please share it on your social media networks.
If you need any suggestions on creating a WordPress blog then feel free to contact us or you can email us at contact@techjeny.org
Please give us your valuable feedback about this tutorial by commenting in below comment section.
Thanks! 🙂
Nice tutorial to create a blog on WordPress! Keep sharing posts like this.
Thanks for your comment!
Your work is lovely
Hi Jeny,
This is really informative article and one of the best guideline for those who have not idea about how they can easily create a new blog. You have explained each step very well. keep it up.
Thanks Mary for your valuable feedback!
Awesome tutorial to make a blog on WordPress. Thanks for sharing!
Thanks for reading the article!
Nice tutorial. But do you think hobby bloggers are dying because they are moving to Tumblr or Facebook?
Thanks for providing the full tutorial on wordpress blog creation. It is very helpful for newbie bloggers.
Hi,
Such a nice post. This post will be very useful for those who want to start their own WordPress blog. The step by step guide from your side to start a WordPress blog is awesome. You have well explained the whole article. Bluehost is one of the best web host service providers. The features of Bluehost are great and the pricing is affordable.
Thanks for sharing this post with us.
Have a great day.
Praveen Verma
Hi Jeny,
I am a big fan of your blog, I read daily your blog it’s more helpful to those marketers who want to learn digital marketing or they want to setup their own business.
I would like like to say to you, just keep on it.