WAMP, also known as WampServer is the finest compilation of Apache Server, MySQL and PHP bundled for Windows computers.
It is mandatory for setting up a local server environment and even installs WordPress on Windows. Even though options are many, but it is always recommended to use WAMP for its easy-to-use and free services.
Reasons for installing WordPress:
Thanks to WordPress, you can now test updates, plugins, and some of the other website changes without making them live for the audience.
Through WAMP, you can install WordPress with ease. Even before setting up and configuring customized domains, you can install WordPress locally for learning or be developing plugins first.
Moreover, users can test the themes and ensure a perfectly deployed setup for the server through WordPress.
It is easy to use and can help in adding blog posts, new pages, and even images on a regular basis. This SEO-friendly mechanism can now be well-installed with a WAMP server by your side.
Read Also: How to Create a WordPress Blog: Step By Step Guide With Screenshots
Installing WordPress on PC:
This entire process of installing WordPress on a personal computer happens to be termed as local server environment, or even localhost.
Most of the time theme designers have to work together with plugin developers for installing WordPress on the local server area. It helps in speeding up the current development process.
For Windows, it is often a positive idea to use WordPress for testing any of the major changes to a site. It will help in catching and fixing issues before it gets to affect the audience.
If you install WordPress locally on Windows, then you will be the only one to see it. For creating a site for the public, you might have to get a web hosting and domain name.
Going through the steps:
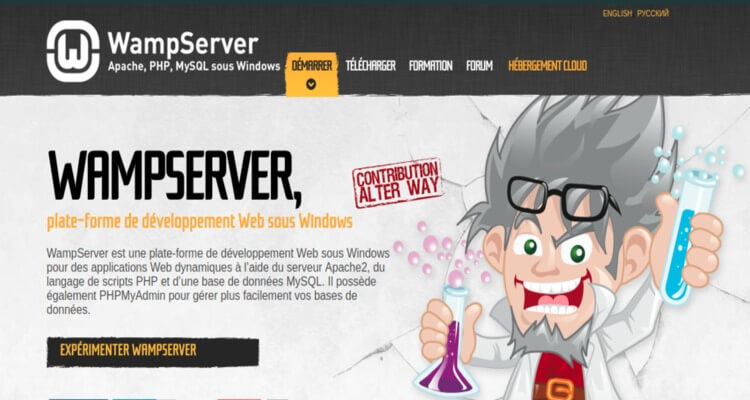
Before you head forward to install WordPress on the Wamp server, you are asked to follow some basic steps. These steps are mentioned in a simple language for better understanding.
1. Start by downloading the WAMP server:
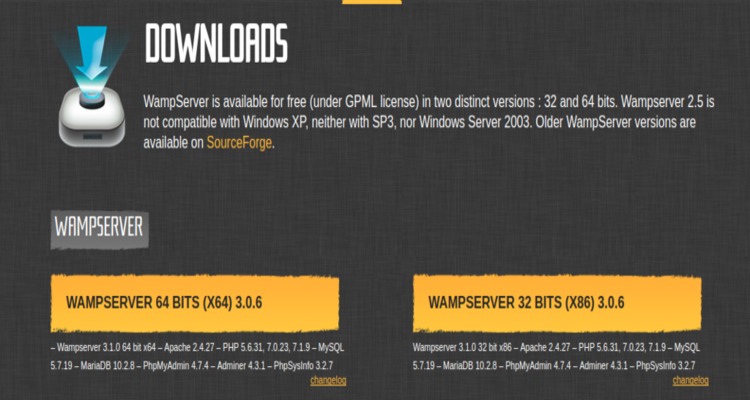
At first, you need to log online to WampServer and download its latest version. You will come across different options on the download page. Choose the one matching your windows, either 32 bits or 64 bits one.
2. Installing WAMP server:
Once you are through with the download task, you must click on the WAMP server icon for running and installing the project. It will be installed in C drive by default.
3. Running the WAMP server:
It is mandatory for you to first activate the WAMP server by double-clicking on the desktop icon. Once you have activated it, the icon with become green from red, as located in the taskbar.
At some point in time, you might come across an error “MSVCR100.dll’ while trying to install WAMP.

It is primarily the major part of Microsoft Visual C++ and you can install it to solve the issue. Some of the major links over here are:
Visual C++ 2010 SP1 Redistributable Package x86
Visual C++ 2010 SP1 Redistributable Package x64
4. Download the WordPress zip:
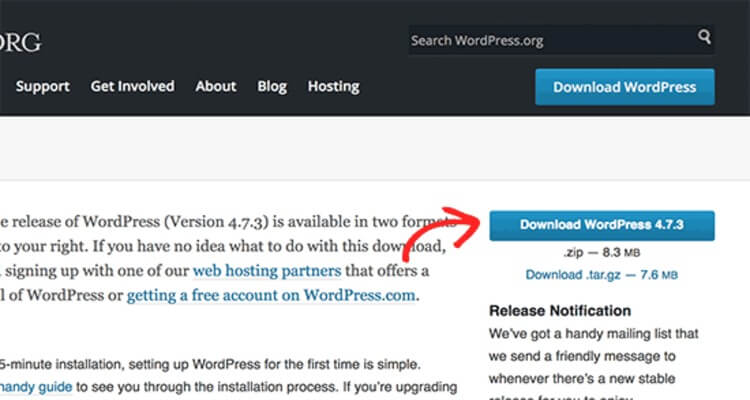
In this regard, you need to move towards the WordPress file and start downloading its latest version. You can always ask a WordPress developer for noteworthy help in this regard.
5. Opening your WAMP Folder:
After that, you need to open the directory where the WAMP server is installed. In this regard, you need to perform certain steps.
- Here, you need to open C Drive. WAMP is installed in the directory under WWW. You can copy downloaded extracted files here.
- After that, you need to make a copy of the folder and then rename it. Start making multiple copies of the file and rename it to save time for downloading WordPress again.
6. Open Browser Window:
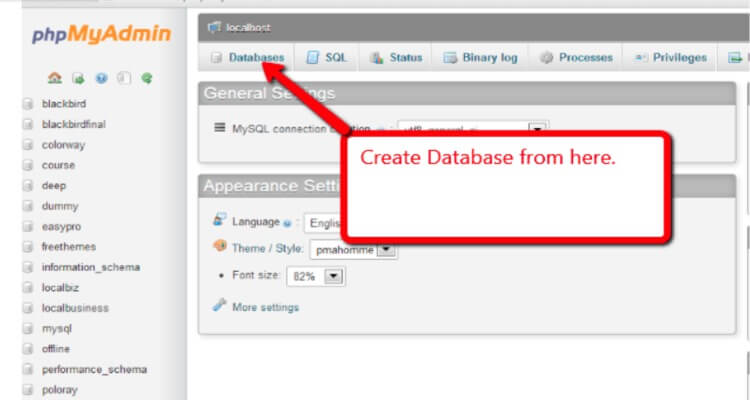
Now, you have to open the web browser window and type localhost/phpmyadmin on the address bar. After pressing enter, you will have to select a database and create one for WordPress.
7. Installing of WordPress:
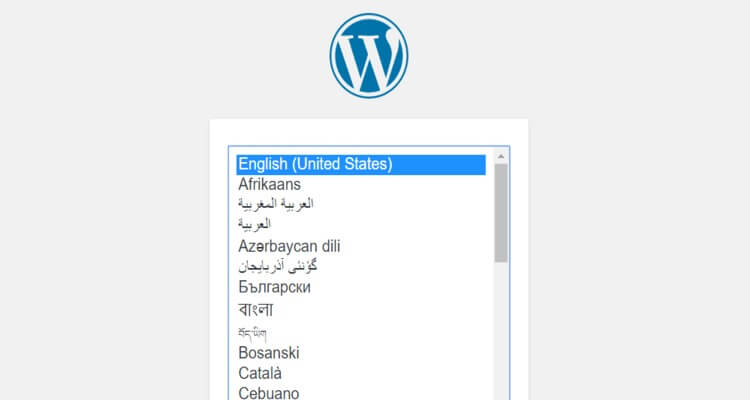
- In this step, you have to type “localhost/Project1” on the browser and follow instructions. After that, select a preferred language and click on the continue option. Next, click on the “Let’s go” page.
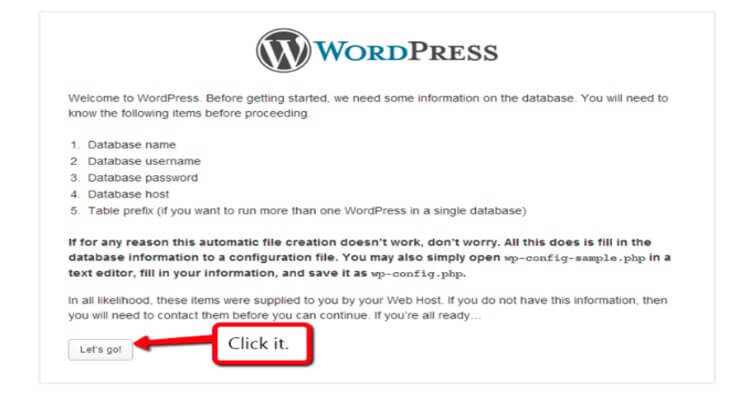
- In this segment, you will come across a Database connection screen, where you have to enter a database name.
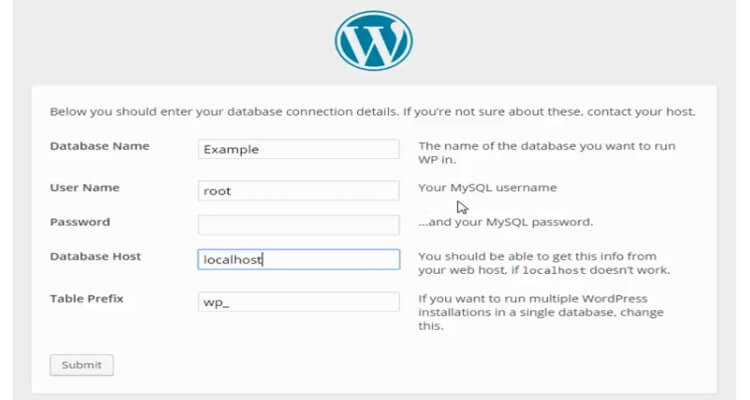
- Username is going to be the root by default as per MySQL name.
- If you failed to mention the password during database creation, then keep it blank.
- Mention the Database Host as the “localhost” and keep the table as it is.
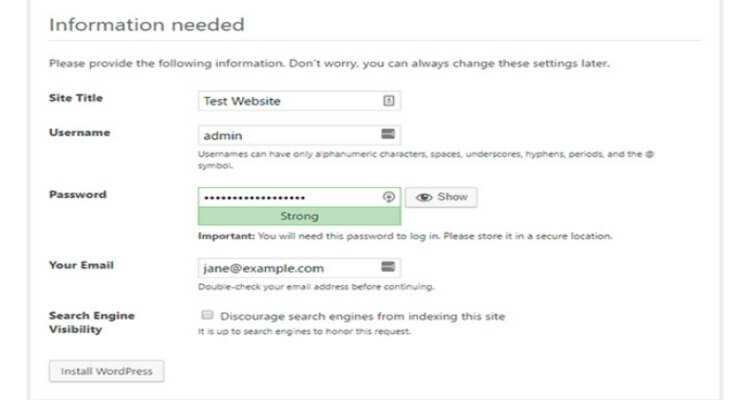
- Now, it is time for installing the setup. Fill in basic information as per your choice. Remember that password, username, and email credentials will be indeed needed in the future. Confirm the password before clicking on the Install button.

- Now, you will come across the login screen. Here you have to enter credentials and click on the Login button. It helps you to come across the WordPress dashboard.
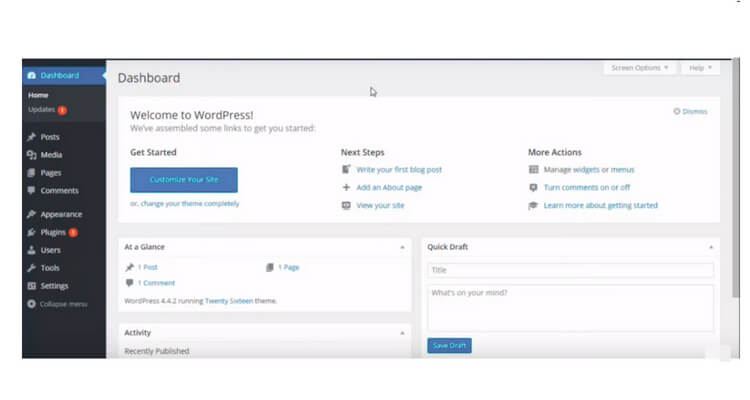
Welcome to the world of WordPress! You have successfully installed WordPress using WAMP as the best response lately.
For the troubleshooting Skype WAMP based error:
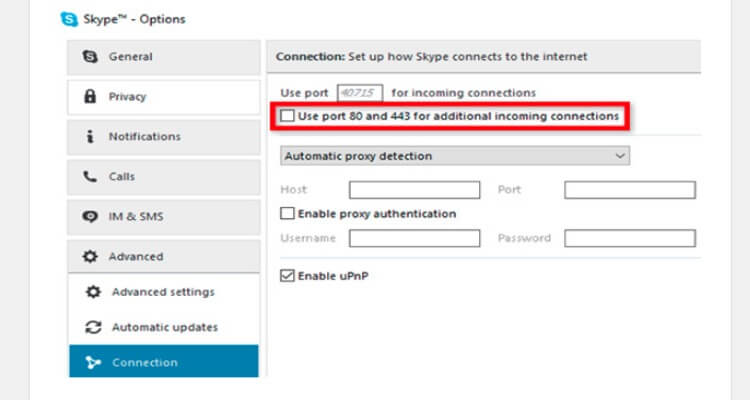
If your PC already has Skype installed and running, then Wamp Server may not always work efficiently due to serious conflict with Skype. The conflict is the result of Skype and Apache both using the same 80 ports. For such issues, you can definitely get the best fix already by your side.
- At first, you need to open Skype and go to Tools. From there, select Options.
- Next, click on the tool, namely Advanced, and then move forward to Connections.
- You need to uncheck those boxes which say “Use port 80 and 443 as alternatives for incoming connections.”
- Next, save the options you have changed and then restart Skype.
Get detailed help from a trained expert:
So, what are you waiting for? For your next move to install WordPress on the WAMP server, make sure to log online and get the help from best developers.
These developers will not just help you with the installation of WordPress, but will also guide you through the prospects of installing it to the WAMP server.
Once you have these options from your side, you do not need to look for any other help for sure!
Related WordPress Posts:
- Understand Web Hosting before Starting a Blog
- 15 Ways To Make Money Online With WordPress Blog
- 7 Effective Ways to Protect WordPress Website From Hackers
Author bio:
Brandon Graves is a highly appreciated WordPress designer with great expertise in HTML to WordPress conversion services and security tips. Follow him on Facebook to get more updates.
